每个 Agent-Lab 应用都自带一个 Model Context Protocol 服务器,它基于 FastMCP 构建,挂载在 /mcp 路径下(Streamable HTTP,无状态)。MCP 客户端——Claude Desktop、IDE、你自己的智能体——可以发现应用中的智能体、读取对话历史,并直接与智能体对话。服务器及其工具/提示词注册器与智能体使用同一套发现机制:scan_packages 和 agent_lab.agents 入口点组。
服务器暴露的内容
| 工具 | 说明 |
|---|---|
get_agent_list |
列出正在运行的应用中已注册的智能体 |
get_message_list |
读取某个智能体的对话历史 |
post_message |
向智能体发送消息——实现智能体之间的通信 |
read_prompt_mcp |
读取提示词模板;同时也以 MCP prompt(prompts/get)和 resource(prompt://)的形式暴露 |
这一提示词三件套会呈现每种智能体类型的默认系统提示词,并支持通过 agent_type + setting_key 按租户进行覆盖。
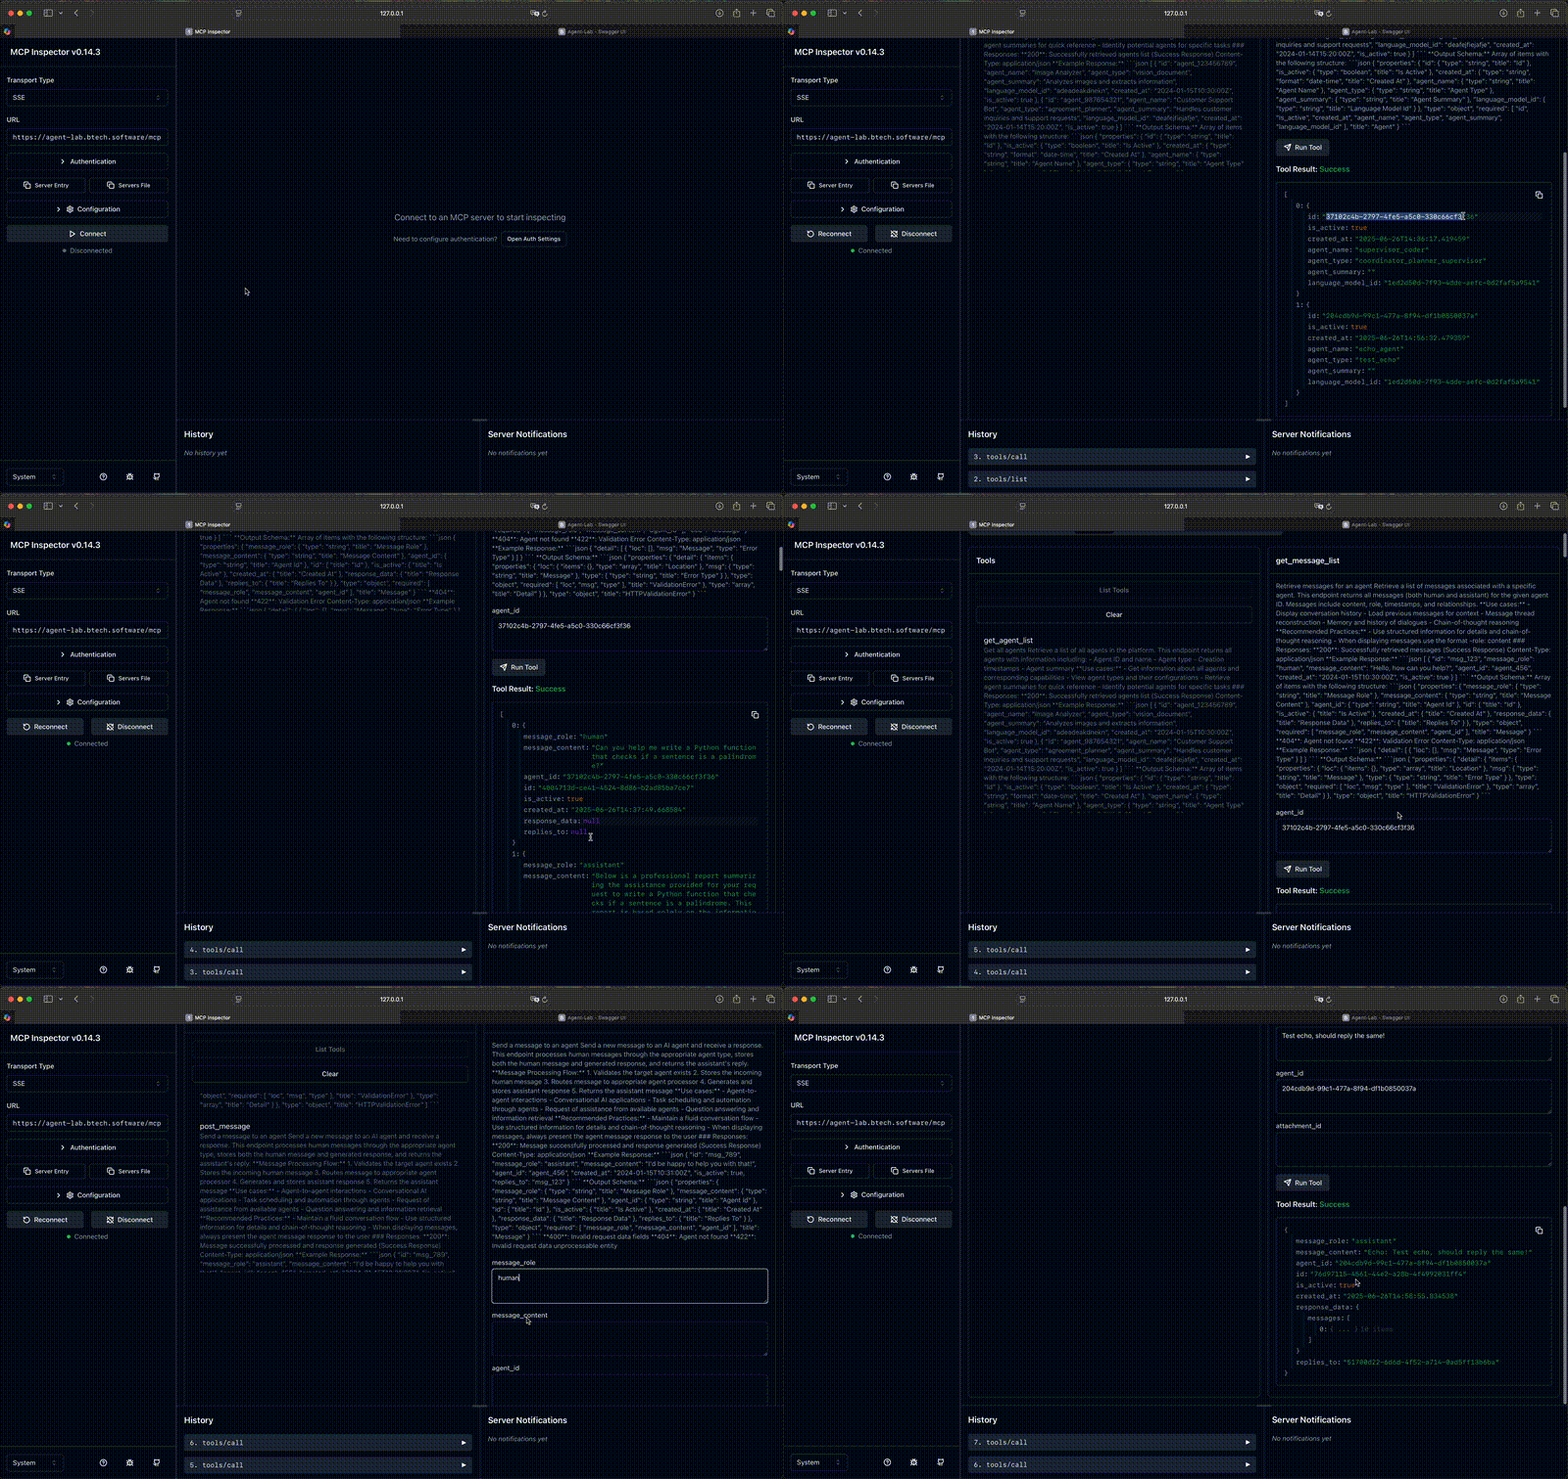
使用 MCP Inspector 试用
启动 MCP Inspector 并连接到你的应用(例如 http://localhost:18000/mcp,传输方式:Streamable HTTP):
npx @modelcontextprotocol/inspector访问 Web 控制台(使用控制台中打印的代理链接)。
连接 Claude Desktop
注意:此处使用 Claude Desktop 仅作演示。本项目与 Anthropic AI 没有任何关联。
安装 mcp-proxy 桥接工具,Claude Desktop 需要借助它访问远程 HTTP 服务器:
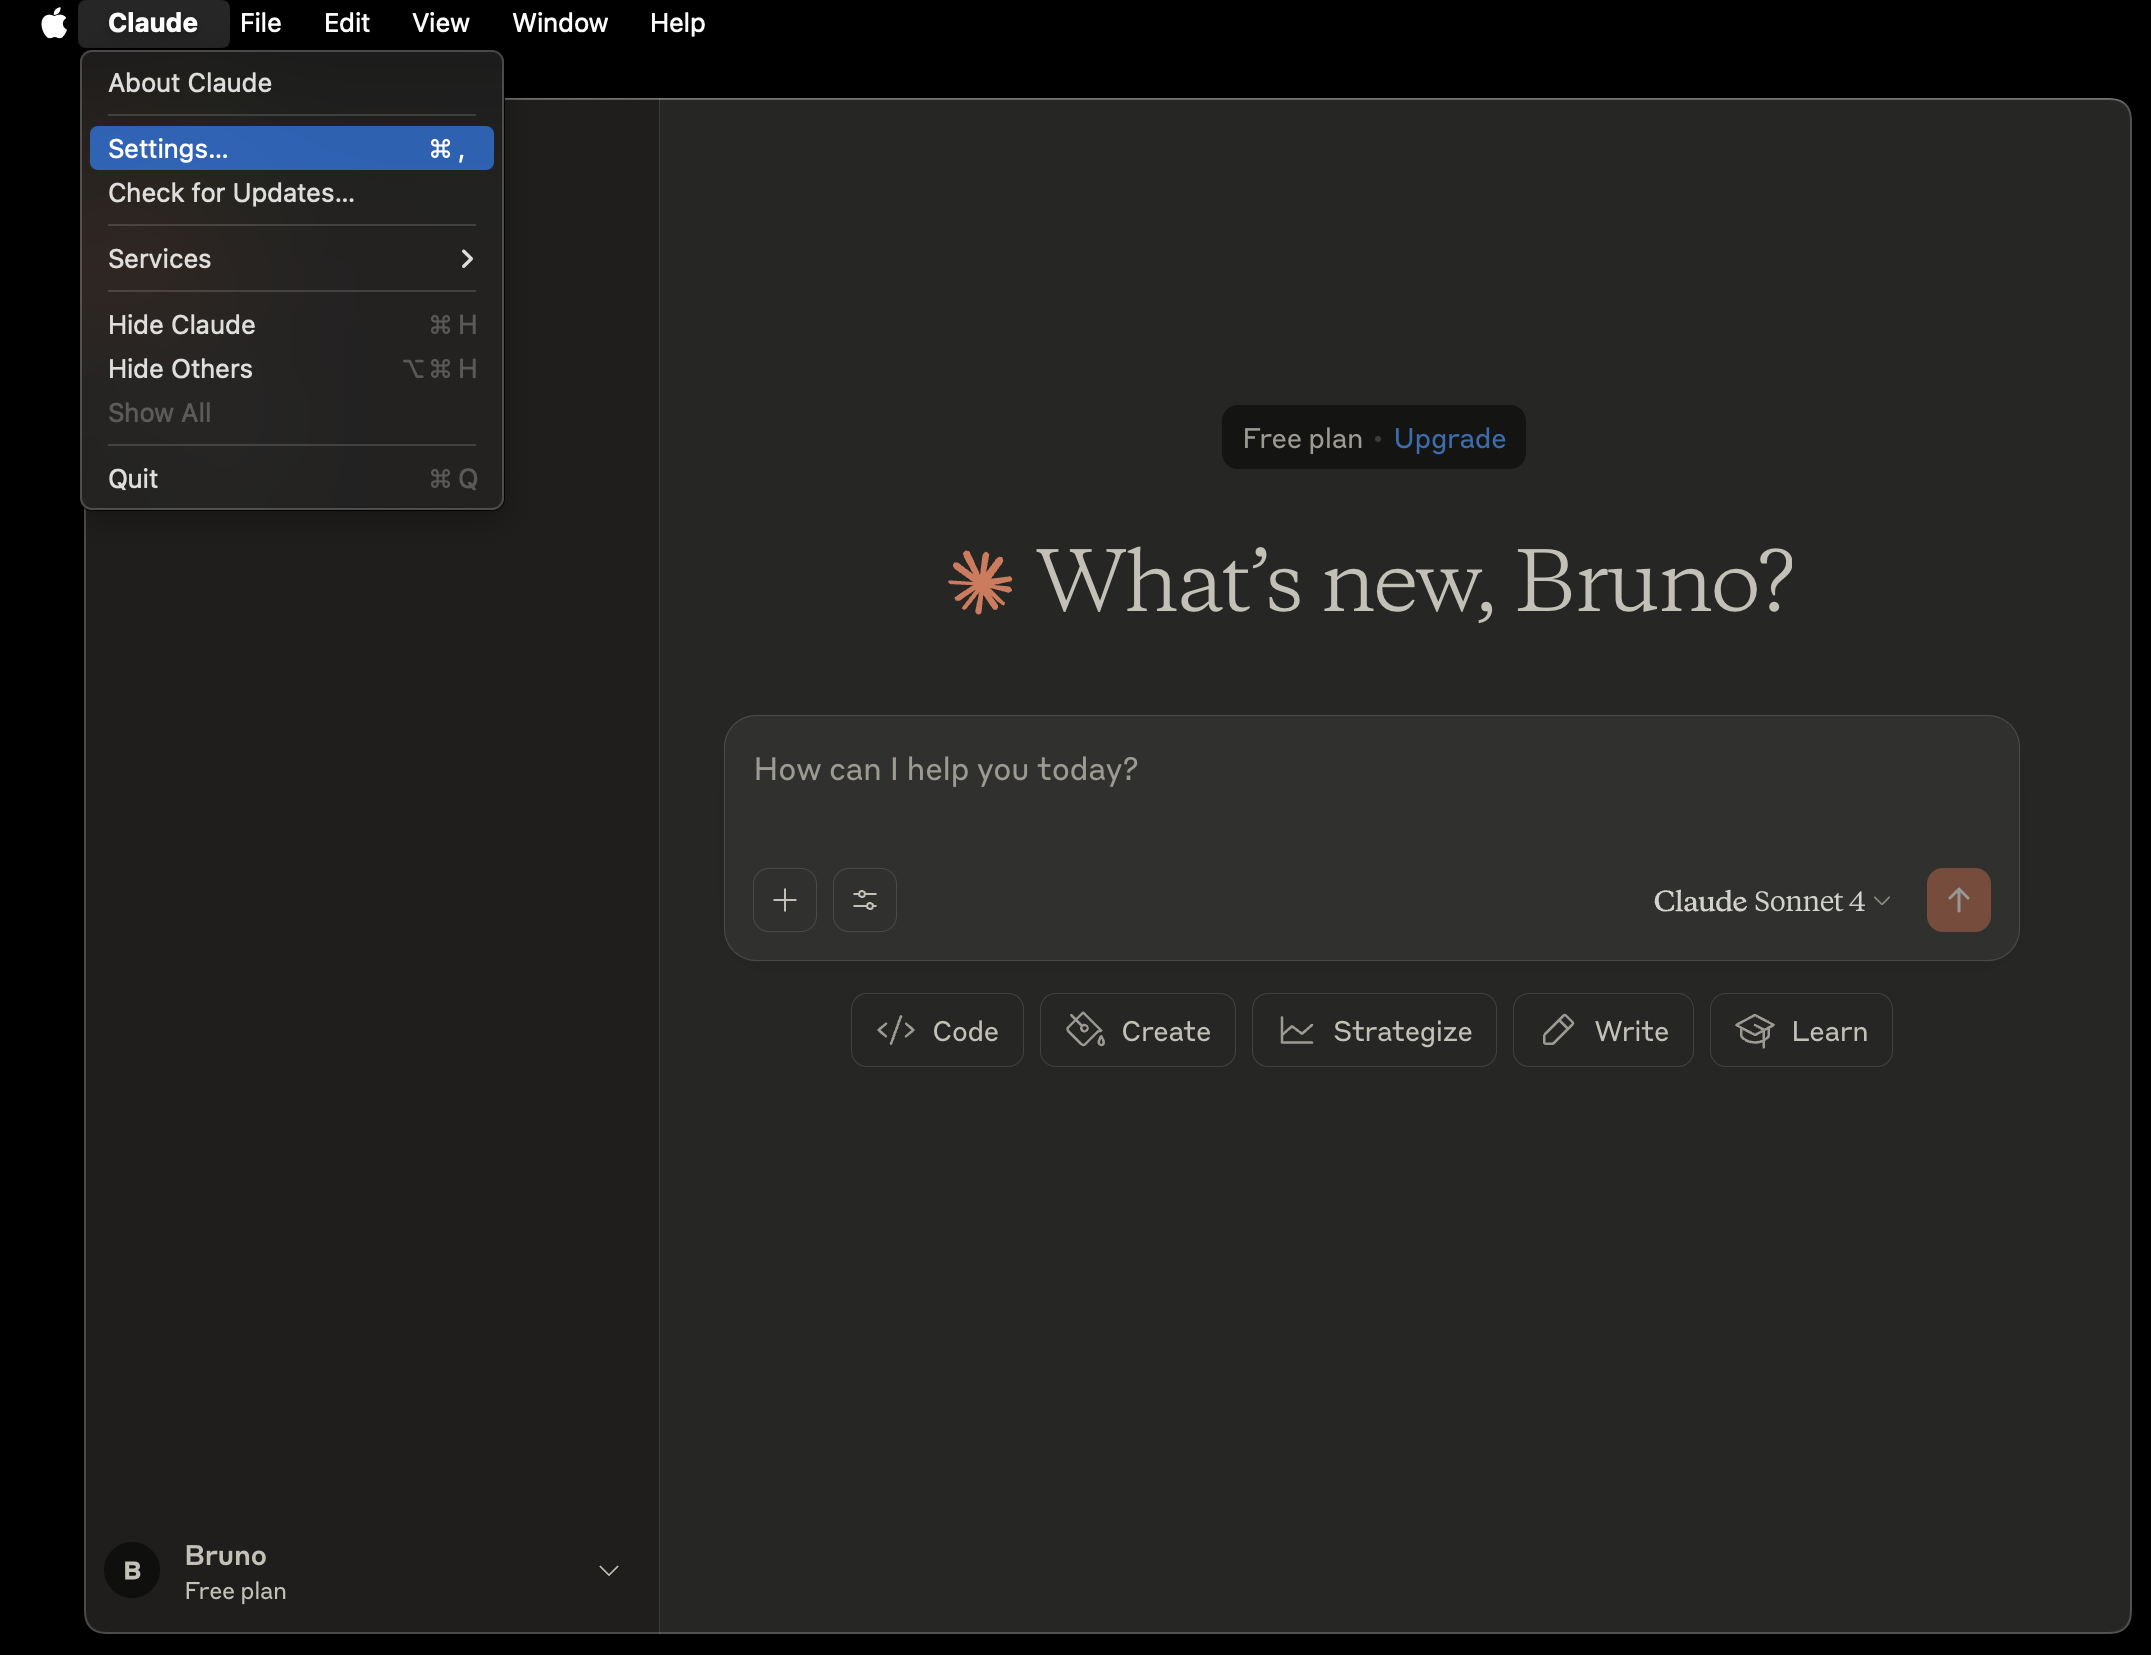
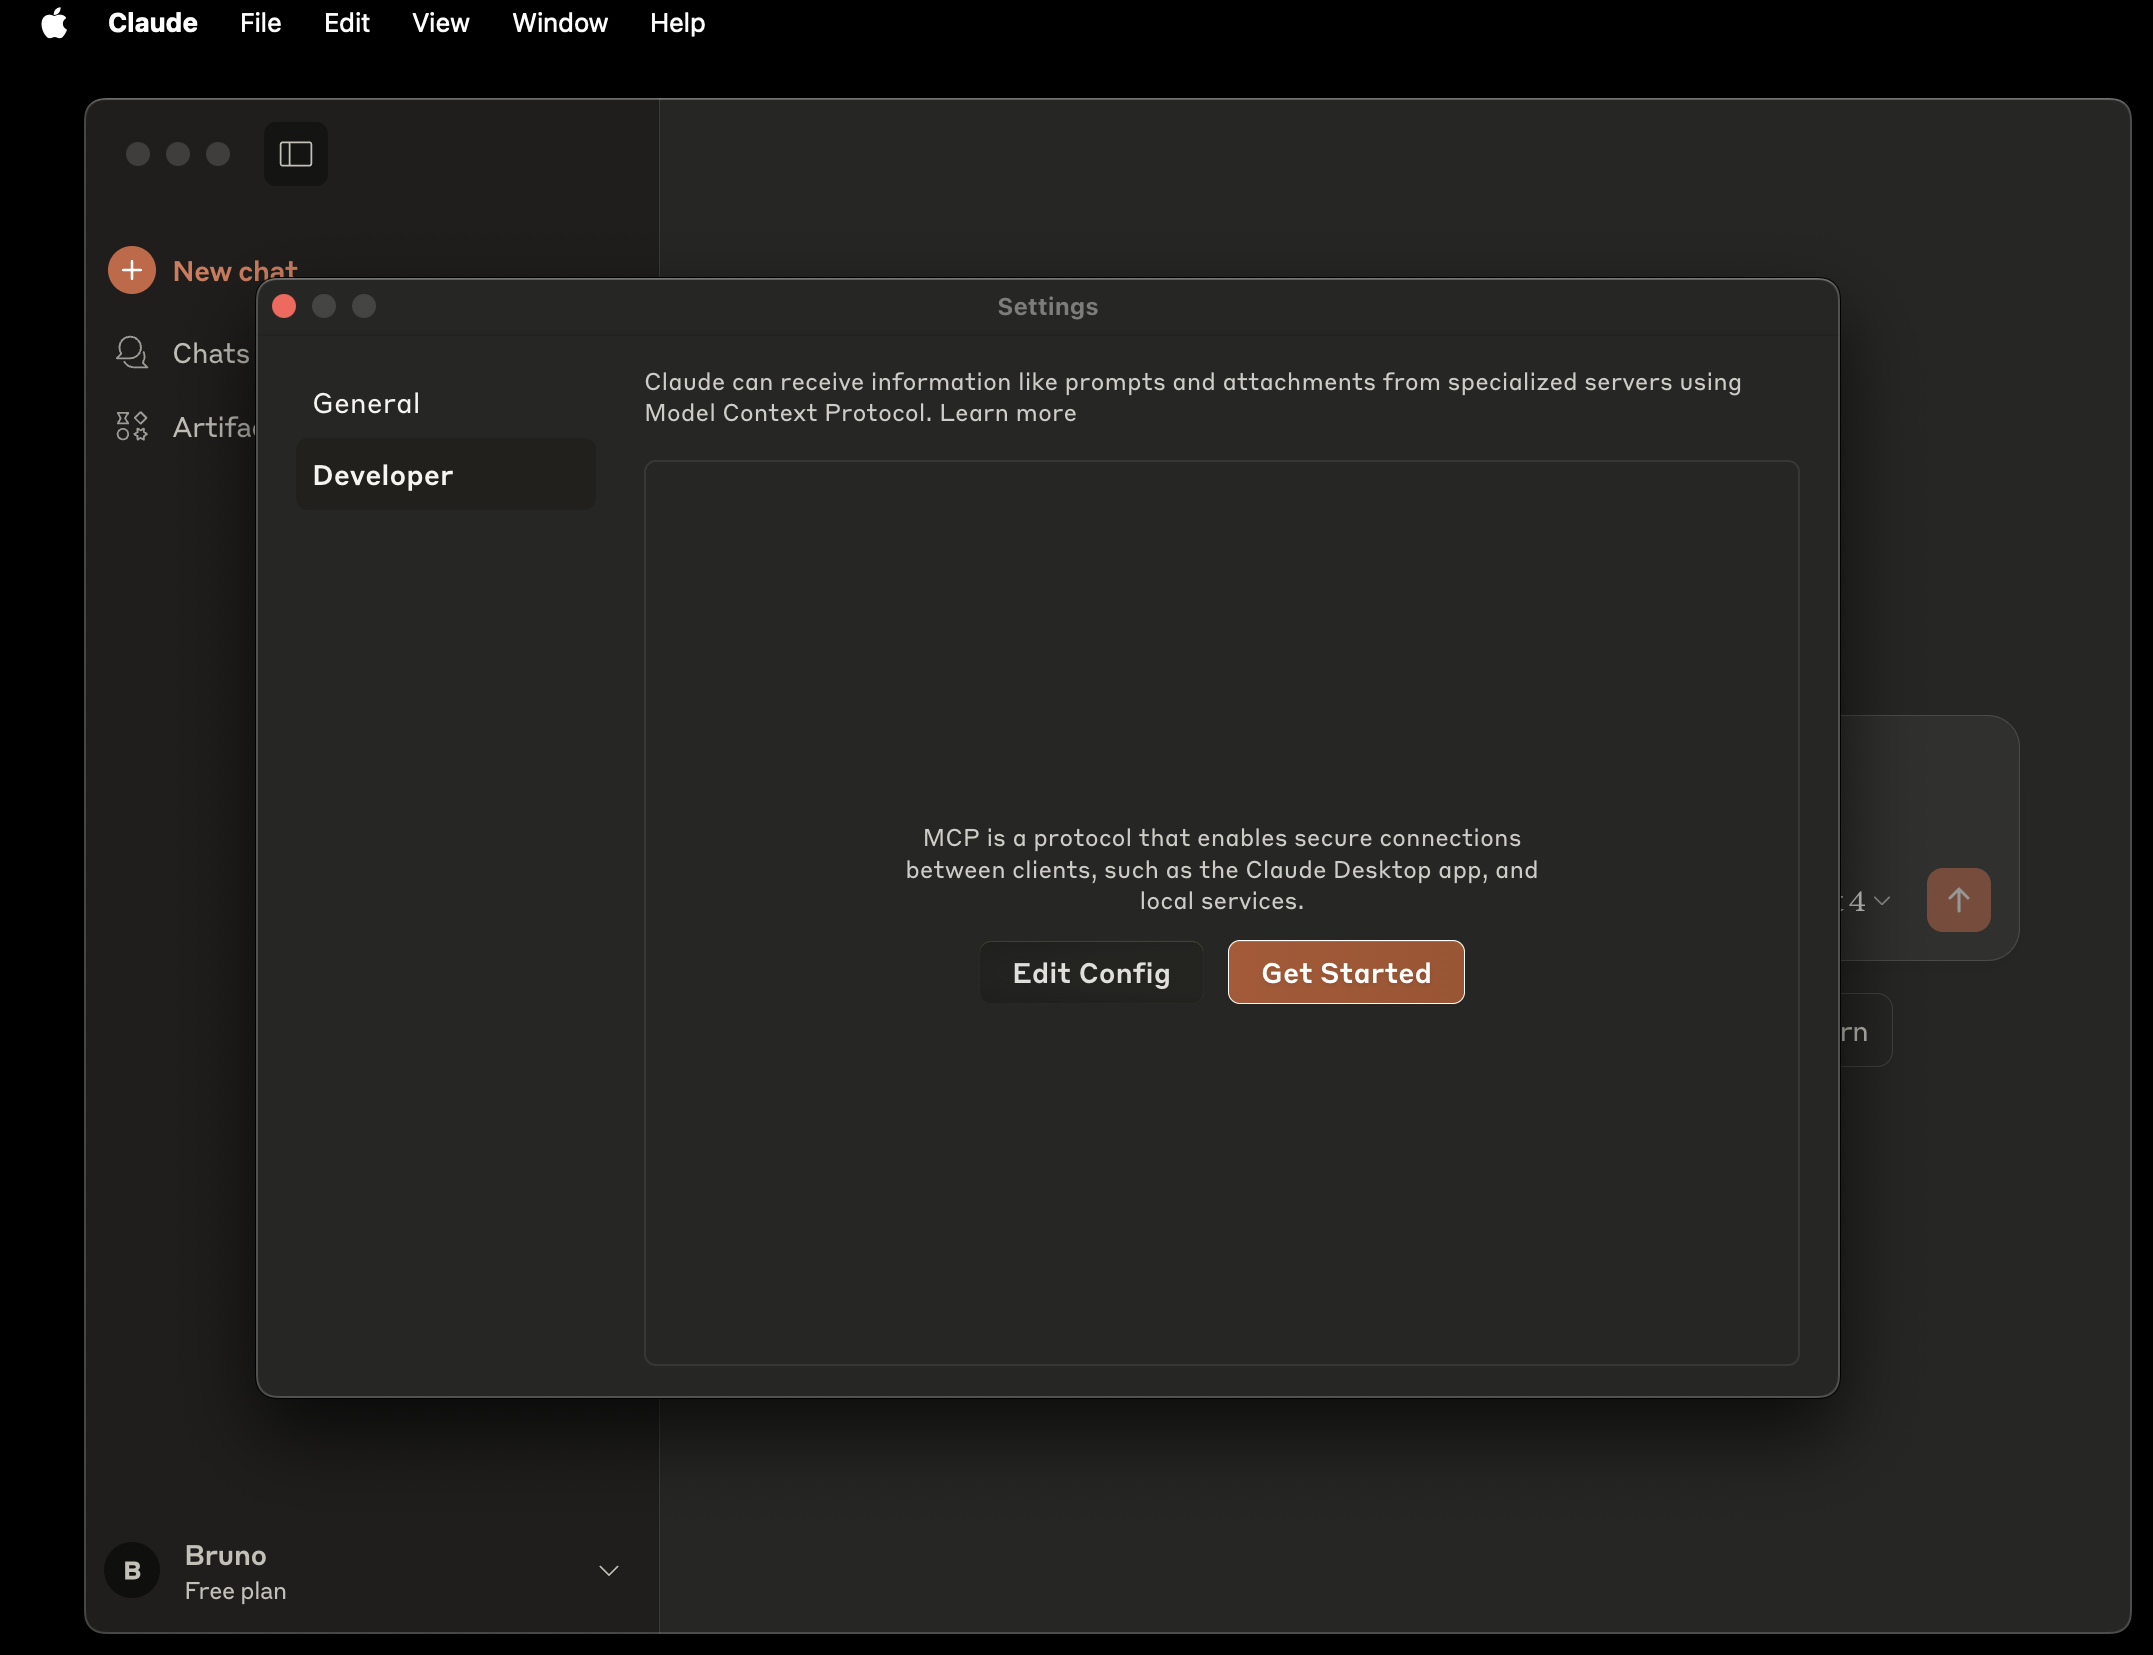
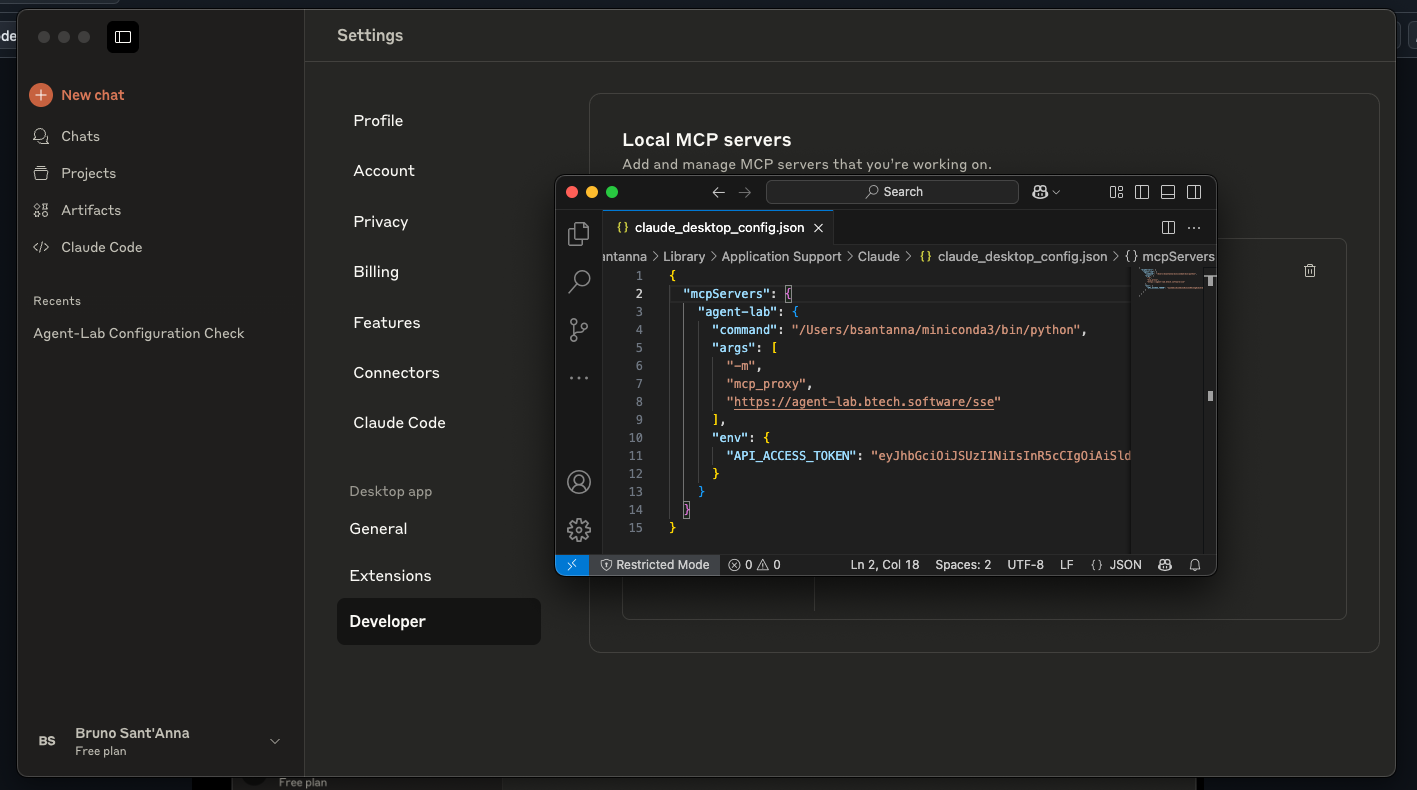
pip install mcp-proxy打开 Settings → Developer → Edit Config,编辑
claude_desktop_config.json(请根据你的安装情况调整端点;Python 环境中必须包含mcp-proxy):
- 重启 Claude Desktop,再次进入 Settings → Developer——此时应该能看到 Agent-Lab:
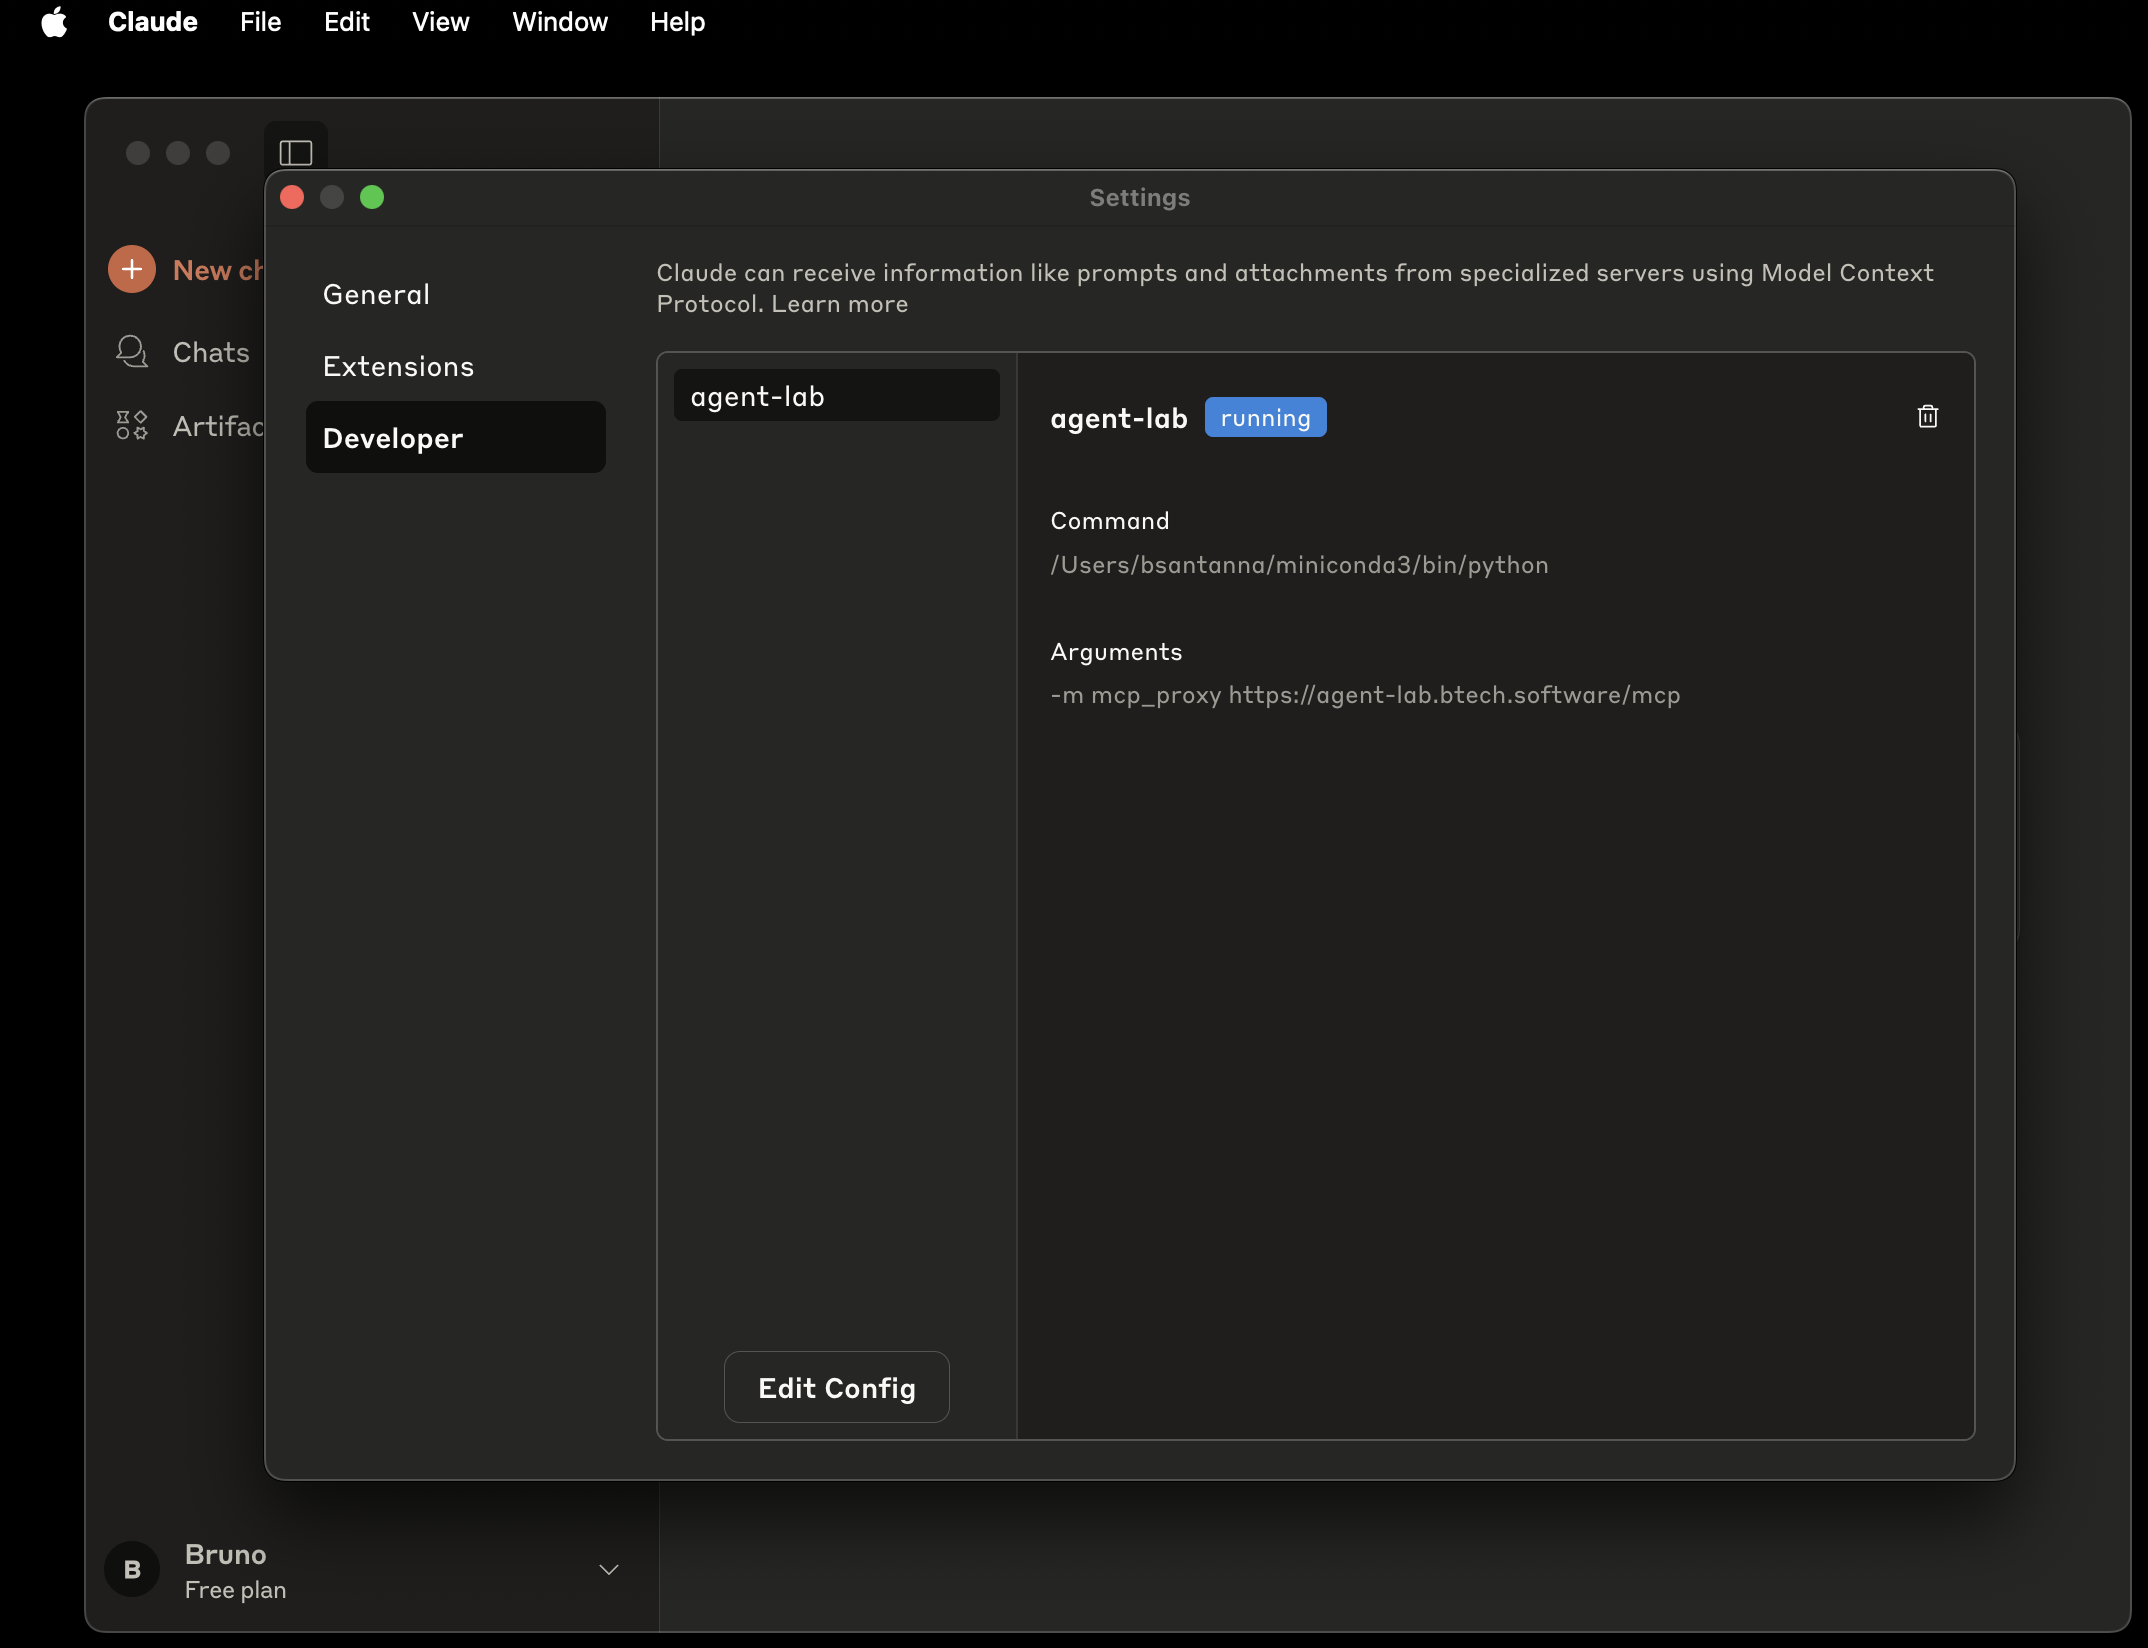
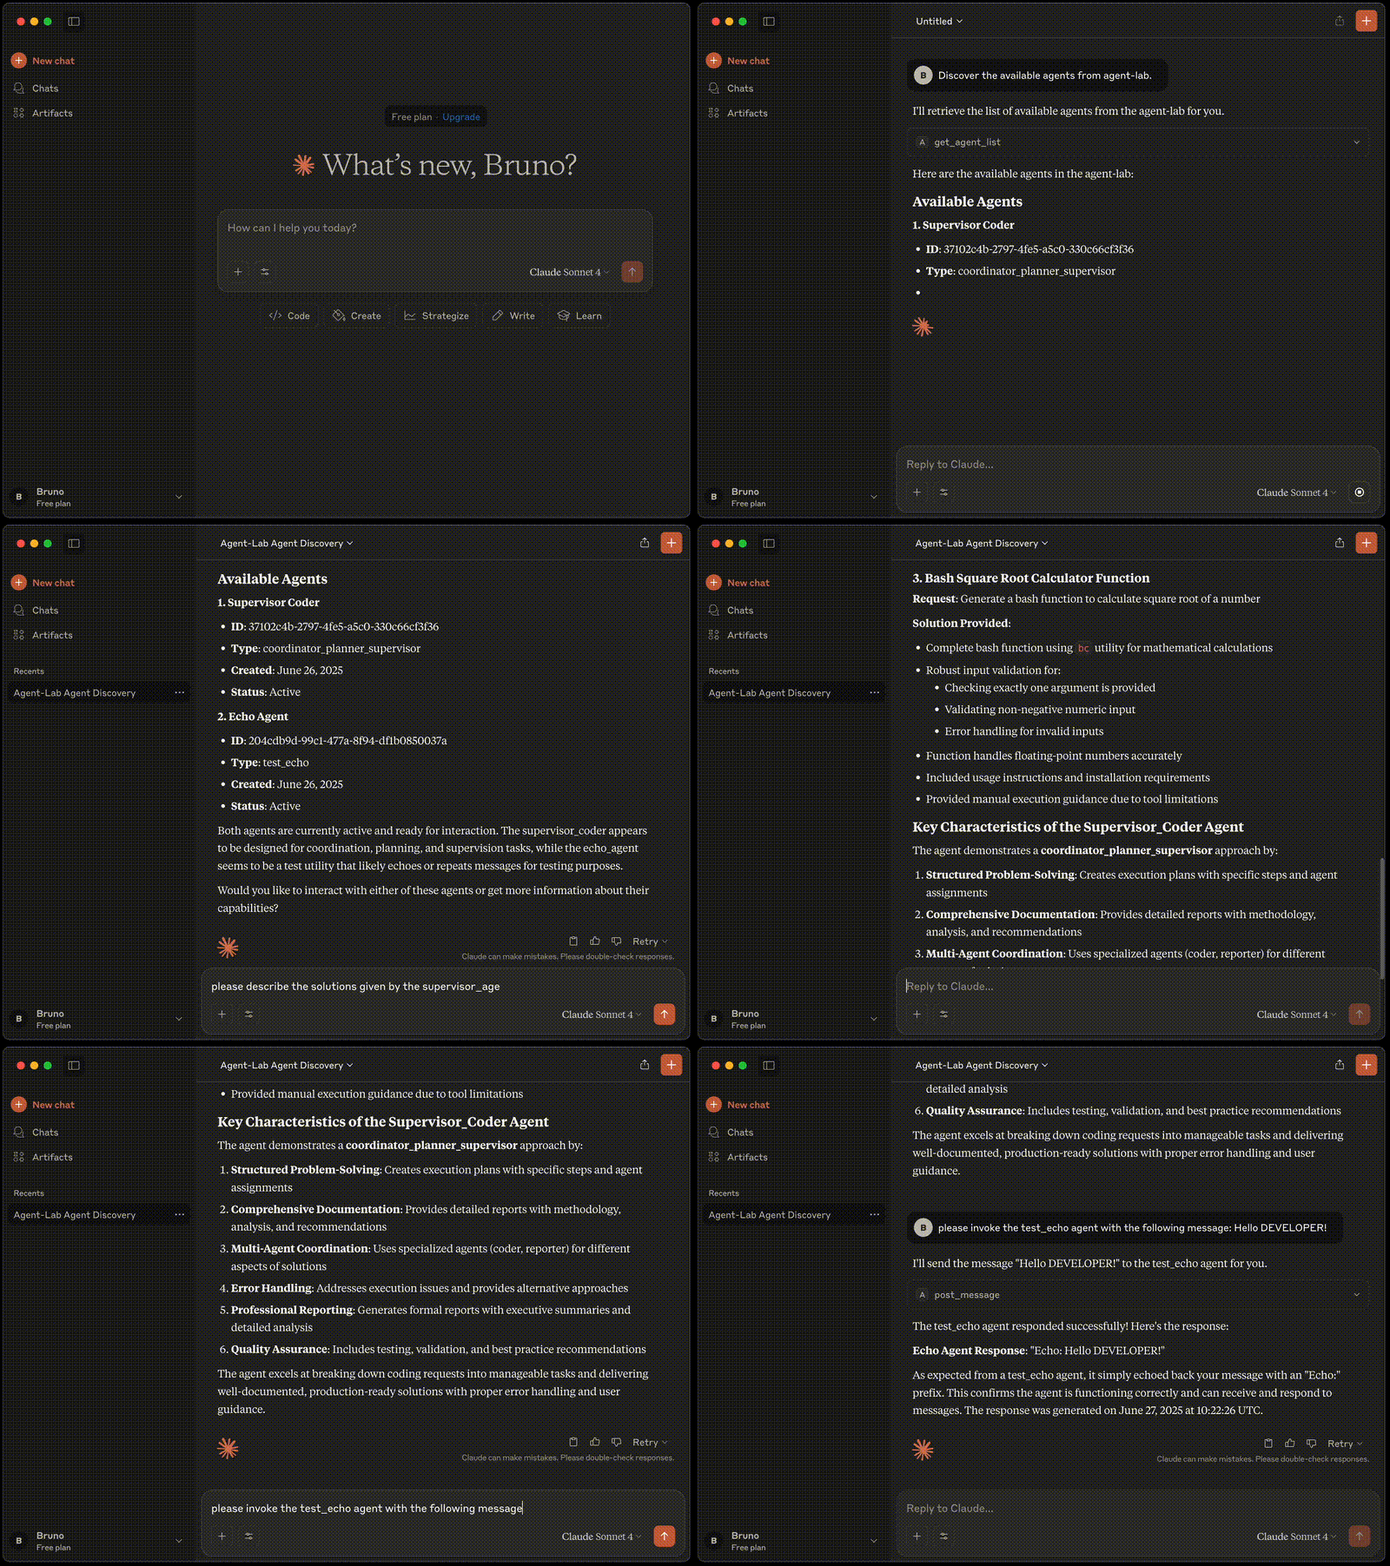
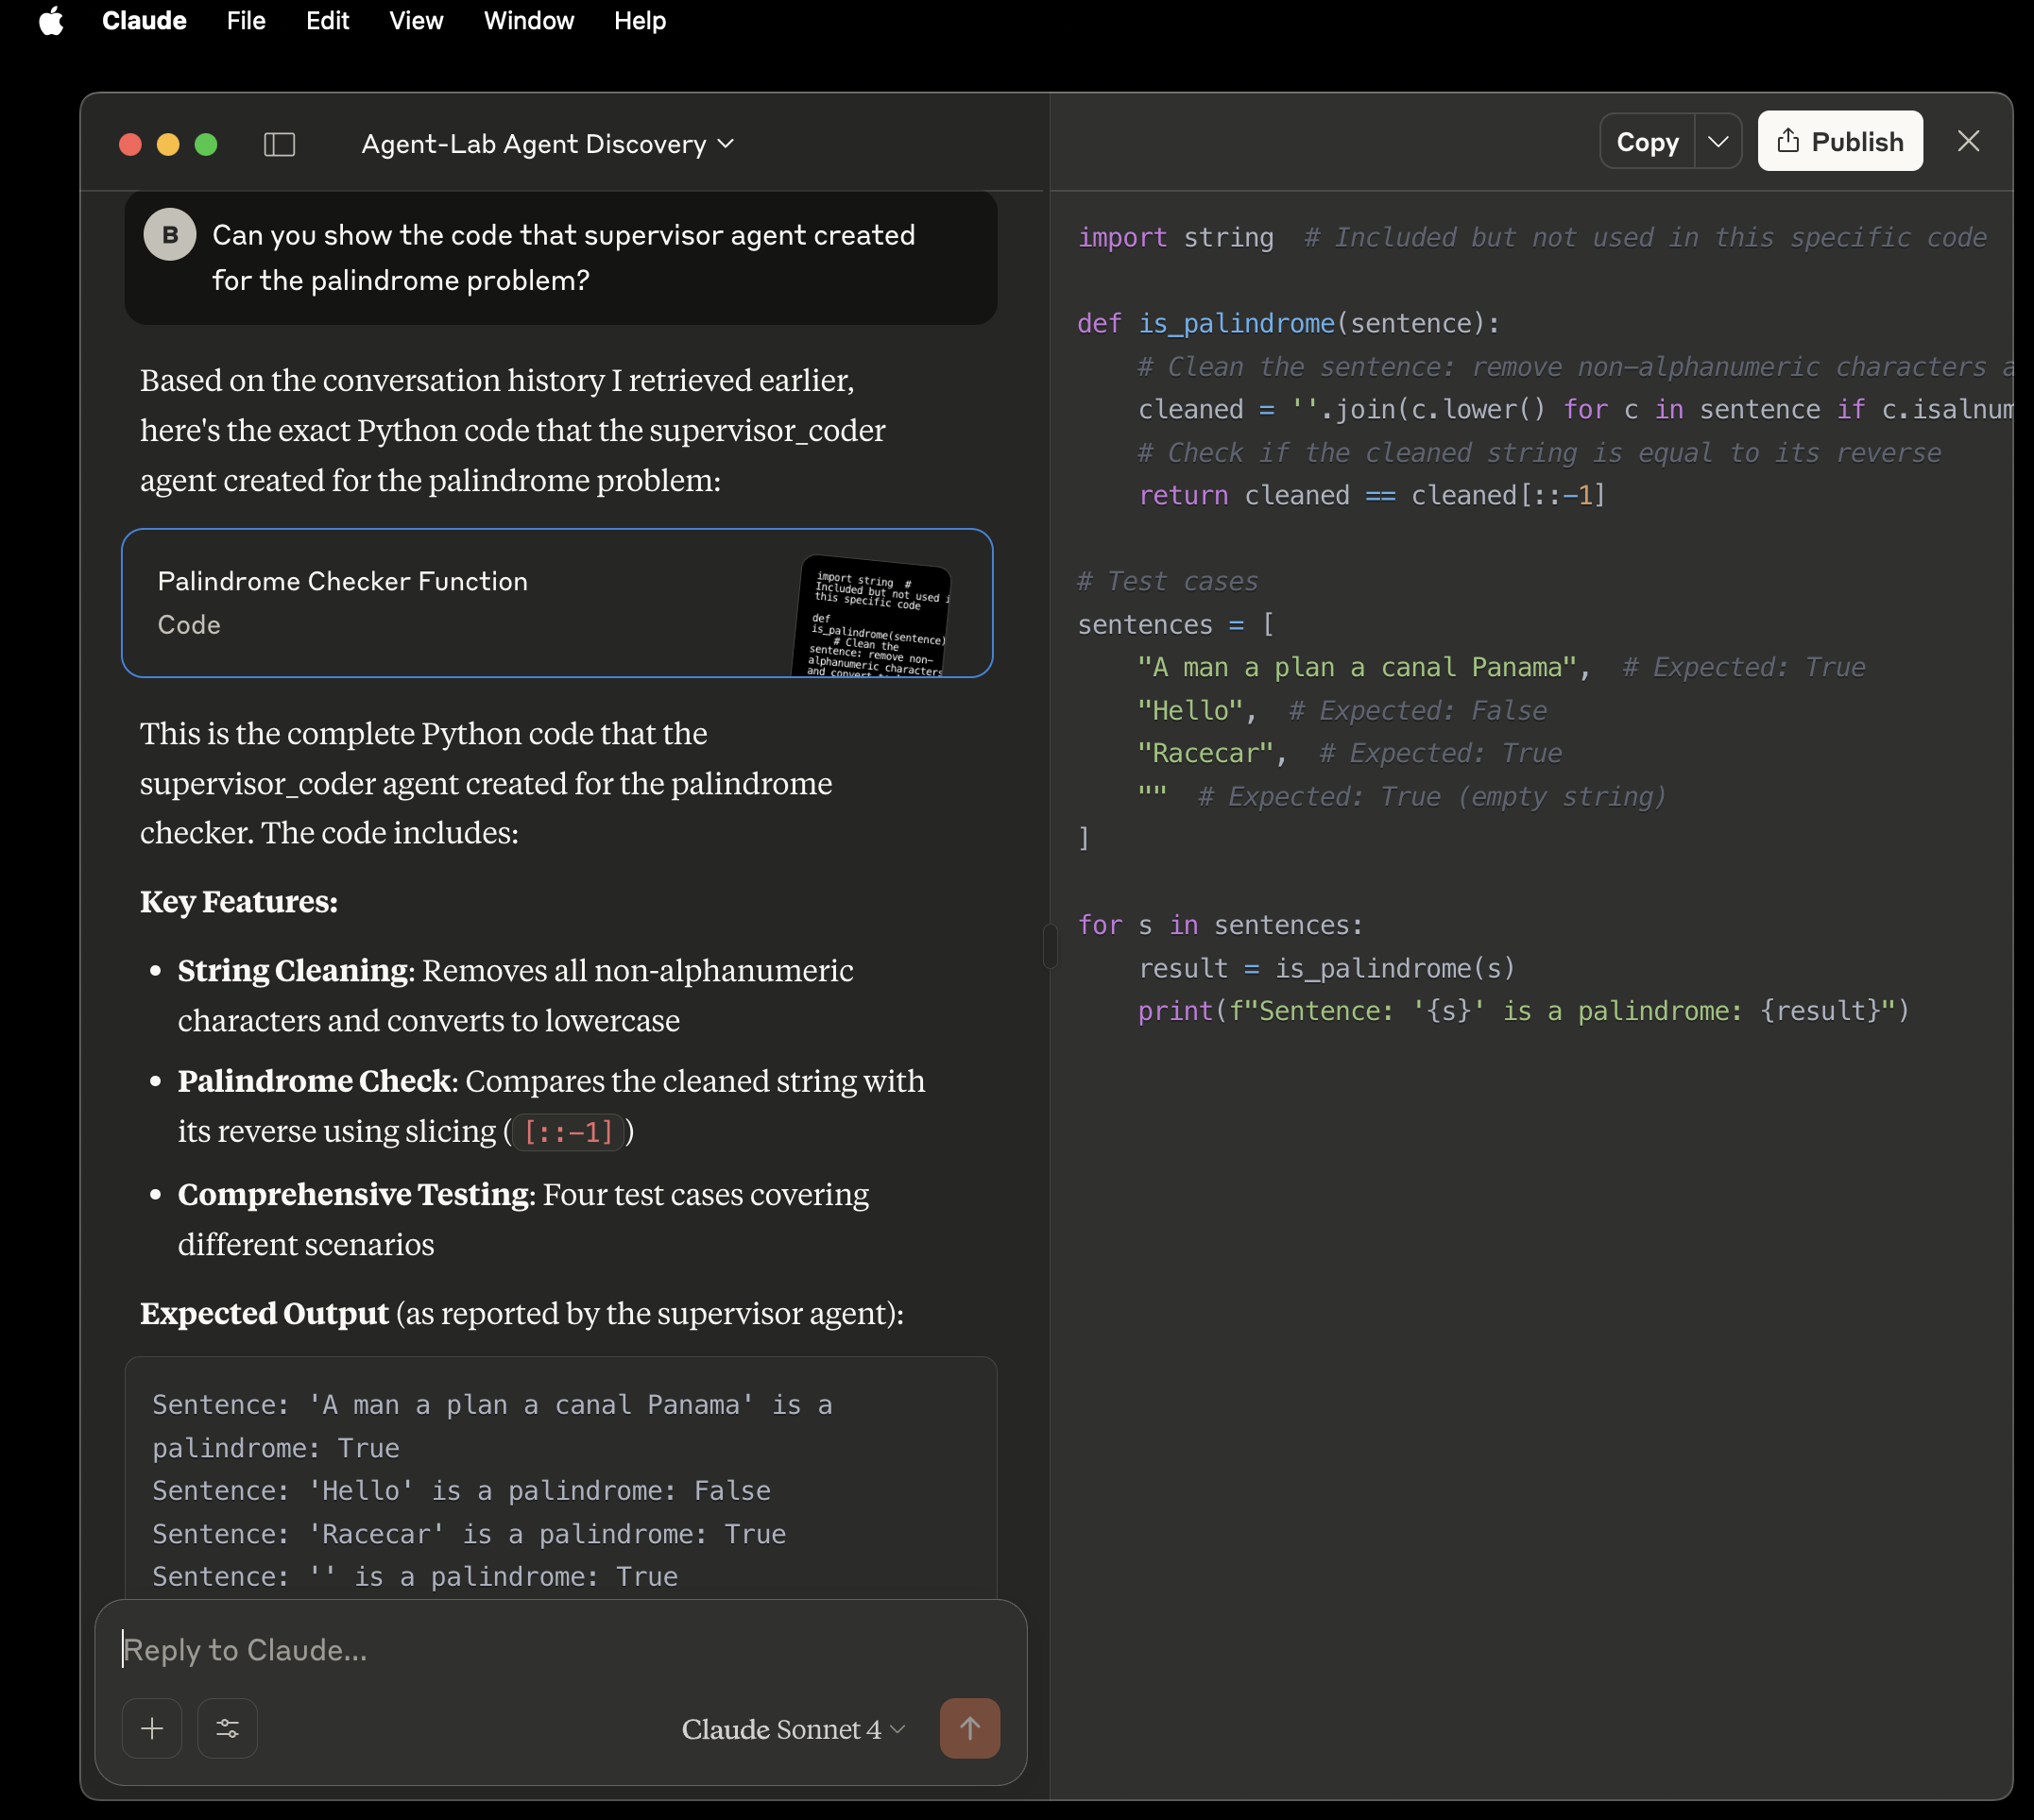
- 动手试试:让 Claude 列出智能体、获取某个受监督的编码智能体实例的对话历史,或者让它展示该智能体之前生成的代码片段:
OpenAI Responses API
Responses API 中托管的 Model Context Protocol(MCP)工具让连接外部服务变得更加容易:只需将模型配置一次,使其指向某个 MCP 服务器——该服务器即充当集中式的工具宿主。(来源:MCP Tool Guide)
演示 OpenAI Responses API 与 Agent-Lab MCP 服务器集成的 notebook 位于 notebooks/11_mcp_client-openai-responses.ipynb。
添加你自己的工具和提示词
所有内容的发现方式都与智能体相同——添加装饰器,并(对于以库方式使用的场景)确保你的包位于 scan_packages 中,或通过 agent_lab.agents 入口点组发布。
工具——一个普通的异步函数;其开头的 container 参数由 DI 容器注入,且对客户端隐藏:
from agent_lab import discoverable_mcp_tool


@discoverable_mcp_tool(
    "my_hello_tool",
    description="Returns a friendly greeting.",
    annotations={"readOnlyHint": True},
)
async def hello_tool(container, name: str) -> str:
return f"Hello, {name}!"提示词——通过完整的提示词三件套暴露(工具 / prompts/get / prompt:// resource):
from agent_lab import discoverable_mcp_prompt


@discoverable_mcp_prompt("my_greeting_prompt")
def greeting_prompt() -> str:
return "Greet the user warmly and briefly."进阶用法——通过 @discoverable_mcp_registrar(extra_deps=(...)) 编写完整的 McpRegistrar(或 PromptSetRegistrar)子类,以实现自定义的工具/提示词/资源集合。如需为客户端添加 MCP instructions,可在组装应用时传入片段:
app = create_app(mcp_instructions=["Extra guidance for MCP clients."])脚手架中附带了一个完整示例(mcp/tools.py、mcp/prompts.py)——参见你的第一个智能体。
认证
启用认证后,MCP 客户端通过由 Keycloak 支撑的 OAuth 代理进行认证:依据 realm 的 JWKS 校验 JWT(openid、profile、email scope),并将 OAuth 客户端信息(加密后)存储在 Redis 中。应用会发布标准的元数据端点(/.well-known/oauth-protected-resource/mcp、/.well-known/oauth-authorization-server/mcp),以便兼容的客户端自行完成配置。